
6. Cavity on the reverse side
- Select Insert > Cavity.
► On the right in the toolbar, four buttons appear with the various insertion options.
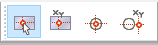
- Select the third option: Enter coordinates based on snap point. Then move the cursor to the center point of the cut-out you just created and click as soon as the center point is snapped.
► The Cavity properties dialog opens.
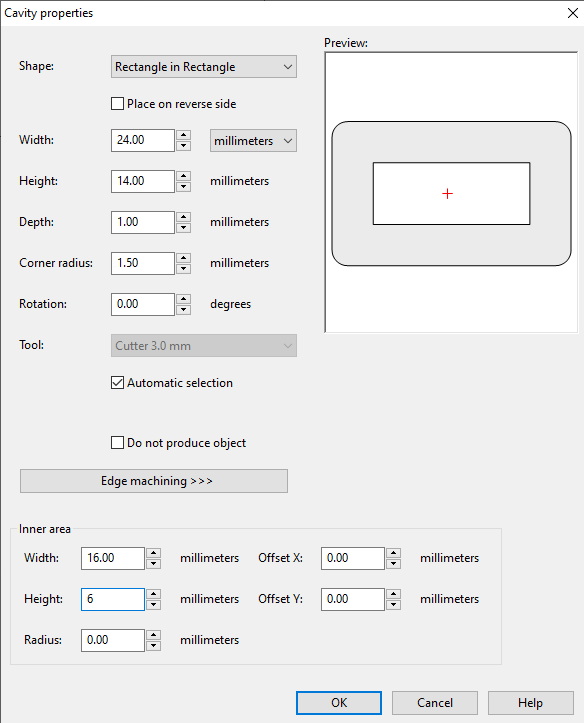
- Specify the following values:
Surface shape: Rectangle in rectangle
Place on reverse side: Yes (check the box next to this option)
Width: 24 mm
Height: 14 mm
Depth: 1 mm
Corner radius: 1.5 mm
Width of inner area: 16 mm
Height of inner area: 6 mm
- Confirm with OK.
► The cavity is created.