3. Label
- Select Insert > Text engraving.
► On the right in the toolbar, four buttons appear with the various insertion options.

- Select the fourth option: Enter coordinates relative to the snap point. Then move the cursor over the drill hole closest to the top and click as soon as the center point of the edge is snapped.
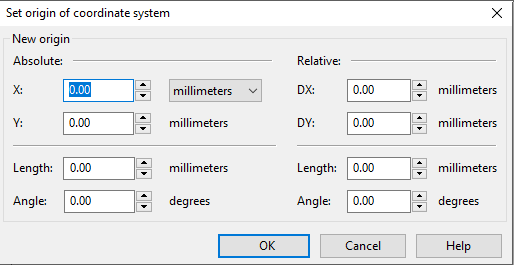
► The Set reference point dialog opens.

- Enter the following values:
Relative X coordinate: 6 mm
Relative Y coordinate: 0 mm
- Confirm with OK.
► The Text engraving properties dialog opens.
- Set the following variables to the specified values:
Text: “Text 1”
Text height: 2.5 mm
Vertical alignment: On centerline
- Confirm with OK.
► The text appears next to the drill hole.
- Duplicate the text engraving you just created in the same way you do for the row of drill holes: move a copy of the object down by 9 mm and repeat the process several times using Ctrl + R.
► “Text 1” is now displayed next to each drill hole.
- Double-click the second text engraving from the top.
► The text engraving’s properties dialog opens.
Change the text to “Text 2” and confirm with OK.
Change the other text engravings accordingly one by one.
