
2. Row of drill holes
- Click Insert > Drill hole
► On the right in the toolbar, four buttons appear with the various insertion options.
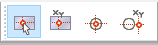
- Select the second insertion option: Manual coordinate entry
► The Set reference point dialog opens.
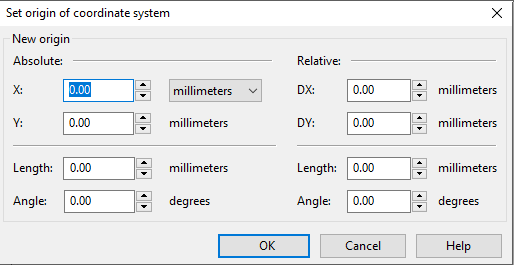
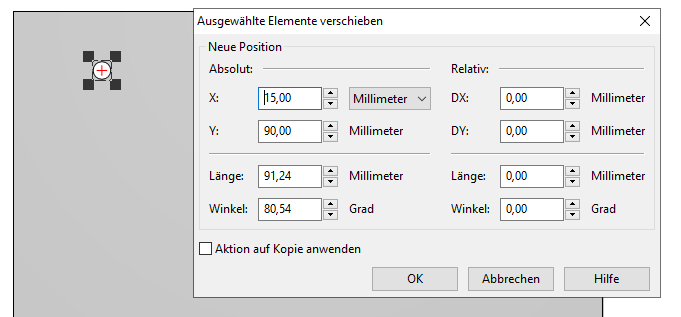
- Enter the following values:
Absolute X-coordinate: 15 mm
Absolute Y-coordinate: 90 mm
- Confirm with OK.
► The Drill hole properties dialog opens.
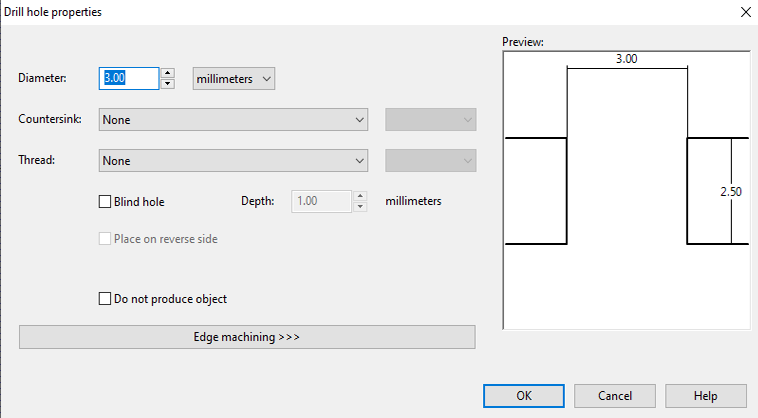
- Set the diameter of the drill hole to 5.1 mm and confirm with OK.
► The drill hole appears on the front panel.
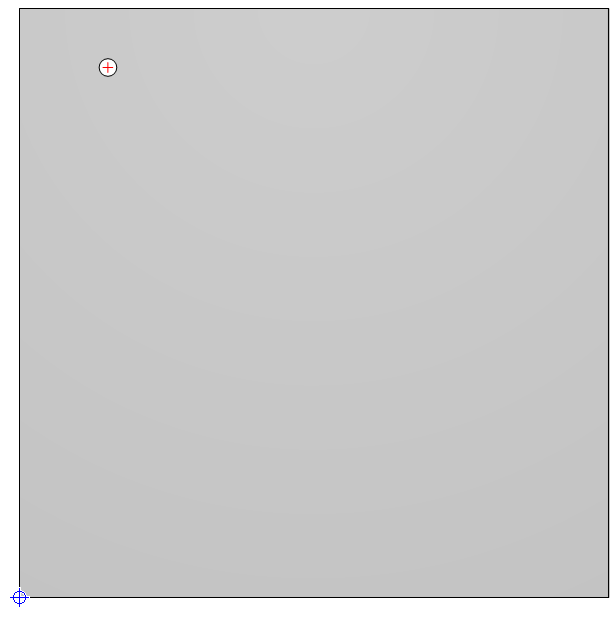
Press the space bar to return to Select mode.
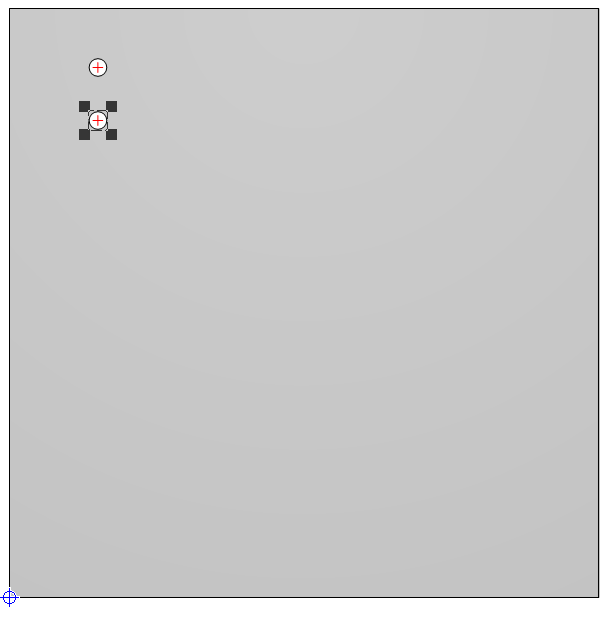
- Leave the drill hole marked and choose Select > Move.
► The Move selected elements dialog appears.
- Check the box next to Apply action to copy and enter the following values:
Relative DX-coordinate: 0 mm
Relative DY-coordinate: -9 mm
- Confirm with OK.
► A copy of the drill hole appears 9 mm below the first one.
Now repeat the last action until a row of eight drill holes has been created. You can do this by clicking Edit > Repeat: Move or (quickly) with the key combination Ctrl + R.