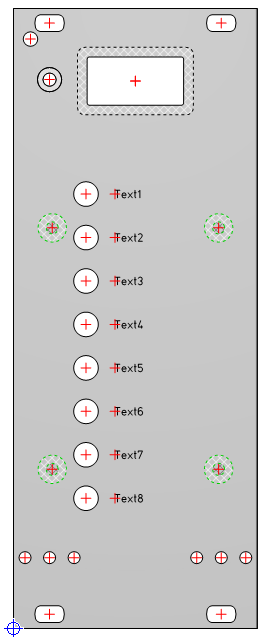
7. Studs
- Select Insert > Studs/standoffs
► On the right in the toolbar, four buttons appear with the various insertion options.
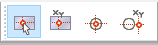
- Select the second option: Manual coordinate entry.
► The Set reference point dialog opens.
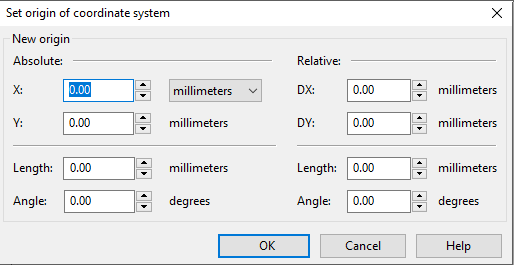
- Place the studs at X = 8 mm and Y = 33.5 mm.
► The Studs/standoffs properties dialog opens.
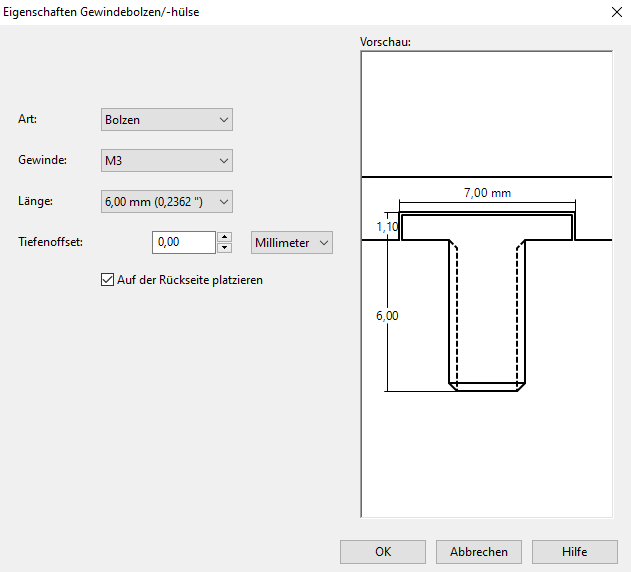
Select a stud on the reverse side with a 2.5-mm thread and a length of 6 mm.
After the stud is placed, press the space bar once to return to Select mode. The stud is still selected. Then select Select > Move.
Move a copy of the stud up by 50 mm.
Mark both the studs you have just created by dragging a marquee around them with the mouse or by clicking them one after the other while holding down the Shift key.
Select Select > Mirror.
- Mirror a copy of the two objects horizontally around the front panel’s center axis.
► The front panel now contains four studs on the reverse side.